Audio Do’s and Don’ts for Indie Filmmakers
Audio Do’s and Don’ts for Indie Filmmakers
Whether you’re an independent filmmaker, a student, or just passionate about sound, take a moment to check out our list of audio do’s and don’ts for film recording and mixing!
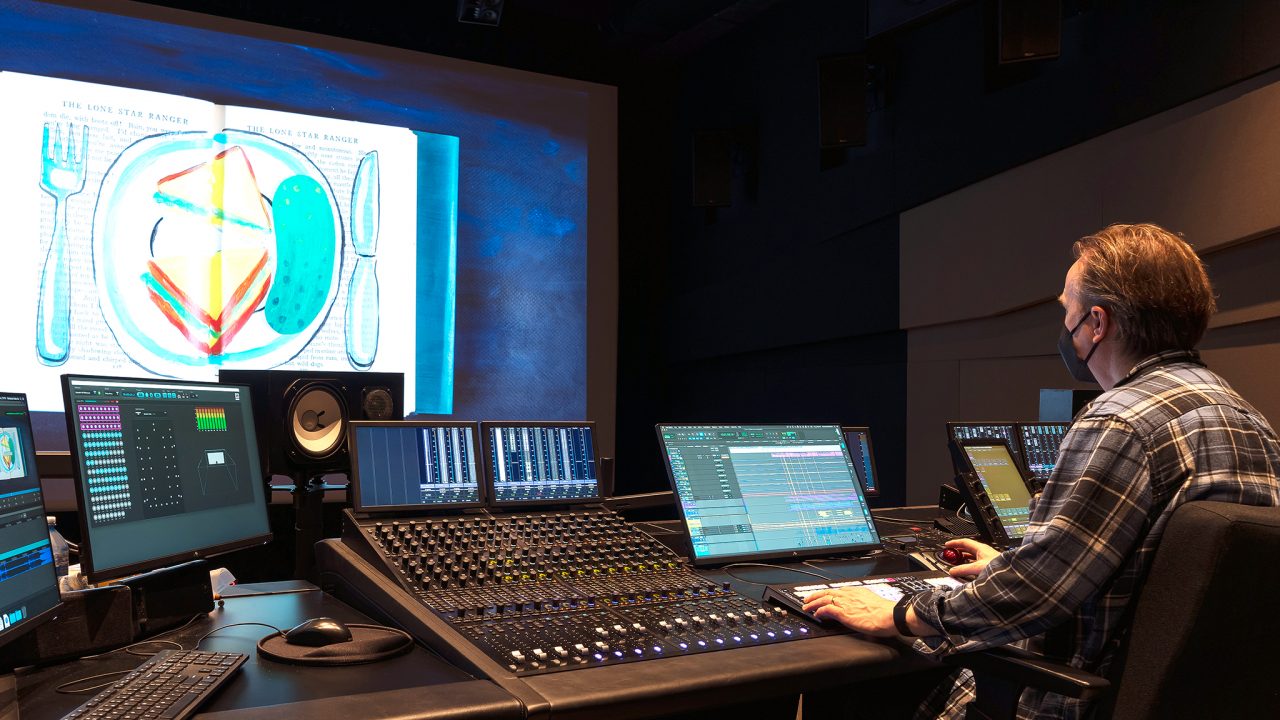
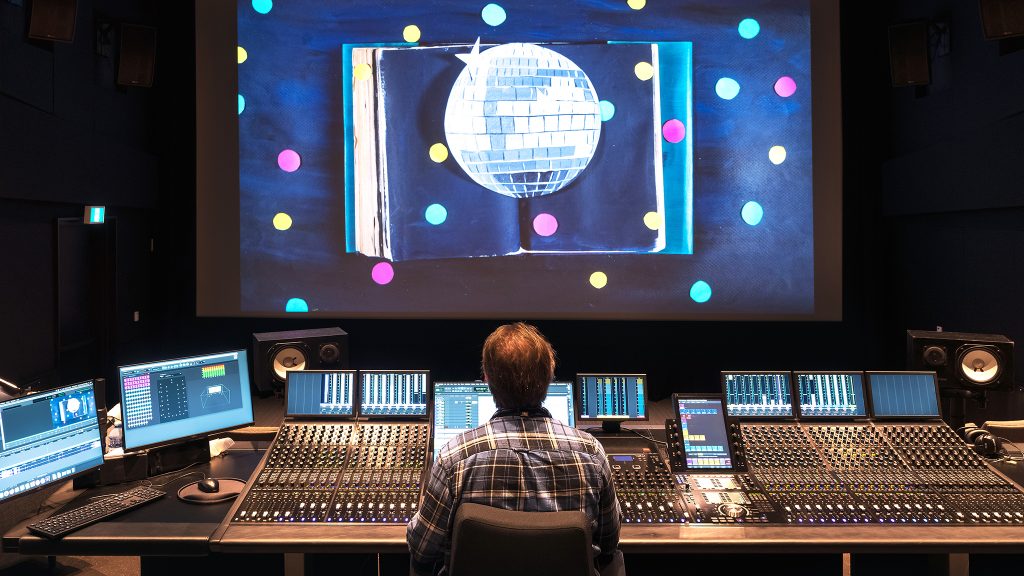
As re-recording mixers at NFB headquarters in Montreal, we often work with “indie” and emerging filmmakers, and over the years, we’ve seen some recurring issues. I’d like to share a few of the most common pitfalls so that when you arrive at your project’s final mix, whether it’s here at the NFB or elsewhere, you’ll be better prepared.
Here are our audio do’s and don’ts for indie filmmaking:
DO COMMUNICATE
Speak with an experienced sound recordist, a sound designer/editor, a music composer and a re-recording mixer. Generally speaking, consult with as many experts as you can. People are usually happy to talk about what they do and what they can contribute to your film. Some early conversations can help set you on the right path and get you thinking about which priorities to focus on for your project. Is your film dialogue heavy? Music driven? FX driven? These are good indicators of where to focus and which creative partners you may need to bring out the best in your project. Invest where it counts!
Having said this, we know the reality is that many indie projects are often cash-strapped and essentially one- or two-person productions, but you should be prepared to innovate and invest when and where it’s needed. Each project is different. If you’re shooting a scripted short fiction, you will typically need a more complete team for a shoot. A long-term documentary shoot is often a more solitary job; in that case, invest in a good camera and audio equipment and learn how to use them to maximum efficiency. Learn how to get good levels for audio recording and, if recording directly onto the camera, how to bypass built-in functions, such as automatic gain control (AGC), or limiters.
Communication is important at every step of the way, as you want to come to the final mix with all the proper elements, arranged in a logical layout!

DO GET THE BEST SOUND AT THE SOURCE
Make every effort to get the best location sound. It can’t be stressed enough. This moment of capture determines whether, for weeks afterward, all your audio post-production work is going to be focused on how to get sound that’s just “good enough,” or whether you will have the freedom to build on the sync sound and actually make artistic choices. When sync sound is compromised, your creative options are reduced.
The most common problem is a high level of ambient sound. In this context, a camera-mounted mic or boom is likely going to be compromised. A well-placed lav is usually the way to remedy the situation. But even this requires proper placement and monitoring. Checking the quality of your feeds is essential to quickly diagnosing and resolving issues. Have you eliminated as much noise as possible from the set? If it’s an exterior recording, could you be sheltered from wind? Is subject placement optimal? If it’s a long or medium shot and you can’t get close with the boom, is it possible to “plant” a mic somewhere in the set?
DO GET EXTRA COVERAGE WHEN POSSIBLE
Small audio recorders can give you the option of rapidly grabbing another “POV” for a shot or gathering ambience. This is especially valuable when you have limited time at a location.
One film I worked on that employed some creative solutions was Callshop Istanbul by Sami Mermer and Hind Benchekroun. It was a multi-year documentary filmed in busy locations in Istanbul. Despite having restricted means, Sami found creative ways to get extra coverage. For example, to shoot a scene where the subjects were walking in and out of booths in a busy shop in Istanbul, Sami hid a Zoom recorder inside the booth, beyond the range of their camera-mounted mic, so that they could get decent-quality recordings even when the subject entered and shut the door.
Callshop Istanbul – Sami Mermer and Hind Benchekroun (directors), Martin Allard (sound editor).
There’s no substitute for an experienced recordist who’s focused uniquely on audio coverage, but if you’re in a DIY situation, take time to think about what alternate captures might suit your situation.
DO REMEMBER SOUND CHANGES PICTURE
The first audio editor is actually the picture editor, who makes creative choices about the cuts, timing and interaction of sound and image. Be aware of this and build in the creative possibilities at the earliest possible stage. Great sound design isn’t just a matter of someone working in isolation after picture lock to miraculously transform your work. Get your audio person in early to give you feedback on the sound possibilities for your cut. There are many ways in which the role of audio design can be integrated into the planning of the production, and doing this will help you tell your story.
DO FIX IT IN THE MIX
Working with audio and hearing the results is an enjoyable process, but don’t get carried away in the edit room. Remember, you are prepping your audio tracks for the mix stage, a cinema mastering room with high-quality playback and the proper spatial context to hear your mix. So don’t do irreversible processing on your tracks before hearing it on the mix stage. Final levelling, EQ, intensive denoising, reverb and panning are all best accomplished in the context of a mix room. If you need to try out something to test your audio edit, do it a non-destructive way.
This brings us to our first don’t…
DON’T OVERPROCESS
Sometimes there may be issues with the audio—hums or rumbles that can be pretty easily removed. Great! But there is a risk to doing this in the edit suite. The mix room will be playing the audio at projection-level loudness with high-quality speakers in a low-noise environment. The type of artifacts created by audio processing may be more evident in this context, and you might end up taking out more “good” audio than you intended. It takes years of experience to have an idea of how things might translate on bigger systems—and there are always surprises. An experienced audio editor can make these kinds of decisions during a first “cleaning” pass, but if you’re going DIY, it’s better to err on the side of caution and leave processing for the mix. However….

DON’T TRY TO FIX IT (ALL) IN THE MIX
You can do a lot with recorded audio, but ultimately some issues are best addressed at source. Performance, source-sound quality or pacing can be helped by mixing, but it may not be the best solution for these types of problems.
For example, a rough dialogue edit is often improved by the mix, but blatantly mismatched takes and less-than-great ADR performances will always feel “off.” Get it right at the source!
Similarly, visual narrative or comprehension issues can be somewhat concealed by audio, but if two shots don’t look like they were taken at the same location, relying on continuous ambience alone won’t solve the issue!
In general, avoid trying to use audio as a stopgap to complete an unclear narrative. It’s usually indicative of a deeper issue, and the results can ultimately be unsatisfying.
DON’T CHEAP OUT
You will have to live with your completed project for a long time. Don’t limit yourself. Good AV equipment has never been so affordable. Entry level pro and “prosumer” audio equipment, when properly used, can get you very good results.
DON’T RELY ON SYNC SOUND ALONE
This is most commonly a problem with documentaries. Even if you’ve recorded pristine sync sound, relying solely on location sound is limiting. Everything you’ve captured is “baked-in.” Dialogue, movements, ambience are all recorded together, and this sync sound will be placed (almost) exclusively in your centre channel. This is not a problem for talking-head scenes with no cutaways, but in any other context, limitations will arise. For example, you wouldn’t be able to pan the sync sound with every subject or object that moves or crosses the frame, or viewers would feel the whole track—subject, ambience, everything that’s captured—also move. You will need independent elements of sound design and foley for panning and creating a fuller sonic space. This will be especially evident during big-screen playback, but it’s also obvious when listening on headphones!
A recent ACIC-program documentary entitled Clebs made judicious use of sound design in a situation where it was challenging to capture sync audio. Director Halima Ouardiri worked with sound designer Bruno Pucella to add details in post while maintaining a cinema verite feel to support her visually compelling short film.
Some important final notes
You may have noticed that I stressed the value of an experienced audio editor on several occasions. A good sound designer is a creative partner who can go beyond just crafting a literal “translation” of the action in the film. They can construct audio elements that support your artistic vision while providing material that matches your technical needs. If you’re a director who’s interested in developing your sound-design skills, working with an experienced audio editor is a great opportunity to learn.
Here at the NFB
The NFB’s mandate includes supporting independent cinema in Canada through our ACIC and FAP programs. If you’re interested in these programs, please check out our resources here:
The scope and quality of projects we’ve seen passing through this program is a testament to the vitality of independent cinema in Canada.
Now that I’ve given some free advice, I want to stress that these are just general comments, and each project is unique. It’s a constant challenge to focus your efforts and time in a way that’s best for your project.
Ultimately, the strength of your vision and story will make your work compelling, but sound has a key role to play in heightening and focusing the viewing experience. So take some time to think about how to do the best you can for your project—and we hope to see you someday on our mix stage!
Thank you to Patrice Leblanc and Marie-Pierre Grenier of Co-op Bande a Part and to my fellow mixers at the NFB, Jean Paul Vialard, Isabelle Lussier, Shelley Craig and Luc Leger, for their generous input on this blog post.
I’m also on Twiter : @onfnfb_mitchell