Animation Tips | Timing is Everything
Animation Tips | Timing is Everything
Wow, am I ever behind in my blogging. When I started the blog on my film around 9 months ago, I had thought committing to a once a month entry would be a snap. Well, in 9 months I’ve only done 2 entries and my last one was 5 months ago.
My mistake was in trying to create big meaty entries. I made them too long. Shorter would be better – easier to face, and so should result in more frequent submissions. More like dessert, or a passing snack tray.
Timing Conveyed
Timing is the most important aspect of filmmaking to me – much more important than beautiful imagery. If it doesn’t have my particular sense of timing then it really isn’t my film. So the real trick in this project was to devise a method by which I could ensure that I could attain the timing that feels correct to me, but that would be executed by someone else.
And that someone else is the super-patient co-habitating stop-motion team of Dale Hayward and Sylvie Trouvé. They’ll be animating approximately half of my film and I’ll do the other (simpler) half, which is comprised of a mix of naive stop-motion and 2D hand drawn animation.
To ensure that my particular timing will translate properly to Dale and Sylvie I had to come up with the right method that would convey that timing accurately. I had to solve this puzzle before I could have any comfort in moving forward.
Evolution of timing guides
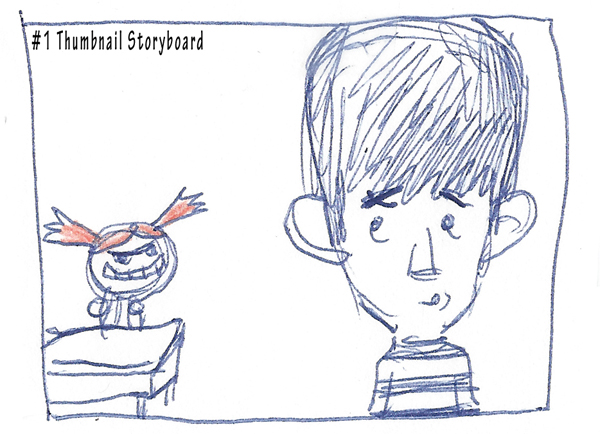
Image #01 shows a panel from my storyboard that was shot into an animatic (for the uninitiated, an animatic is a pose-reel video where you hold each storyboard image on the screen for the length of time that the intended animation would play in your final film). I always start with as crude of an animatic as I can do. I want it to be extremely simple so that I’m not bogged down with the drawing phase and that I wouldn’t have any compunction about throwing any of it away. I don’t like to get married to any piece of it , which could easily happen if you pour a lot of your time into a particular section. As you can see by image #1, I could throw that sketch out in an eye blink. Super ugly and disposable – that’s how I like it.
But in order to relay the information about the particular timing of specific actions within each shot to my stop-motion animators, I knew that I’d need to create the most detailed animatics that I’ve ever done. After all, stop-motion puppet animation is a very unforgiving form of filmmaking that can’t be massaged into submission like my own 2D drawn animation where I can fiddle with timing endlessly.
I had won a copy of Maya (a high end computer program that’s used to create CGI computer animation) at a film festival in Dallas. I decided to take about 4 months and just concentrate on learning it to a level where I thought I could move rudimentary versions of my characters at my timing that would help direct the animators. By the end of 4 months time, though, I had learned just enough to realize that it would take me at least a year to learn the program well enough that I could only then begin to create a crude computer generated mock-up film that was a good enough animation timing guide for the Dale and Sylvie. It was like making a film in order to make another film. It was using a hammer to kill a flea. So I abandoned that plan assuming it was all just wasted time.
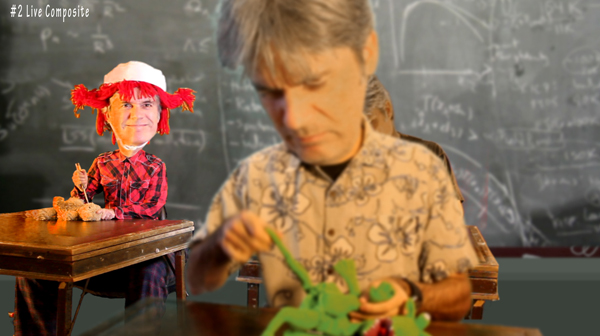
I then had the bright idea that I could save a huge amount of time by just filming myself in the various classroom positions in front of a green screen so that I could composite myself into all the various positions. I could act out in seconds what would take me days or weeks to create in Maya.
Image #02 shows my deluded attempt. Though I must admit, it would have been a most interesting looking guide. One for the vault. The trouble with this method was that I couldn’t easily finesse the specific timing of body parts. I could only play with the timing of my overall body action. So I abandoned this plan as well.
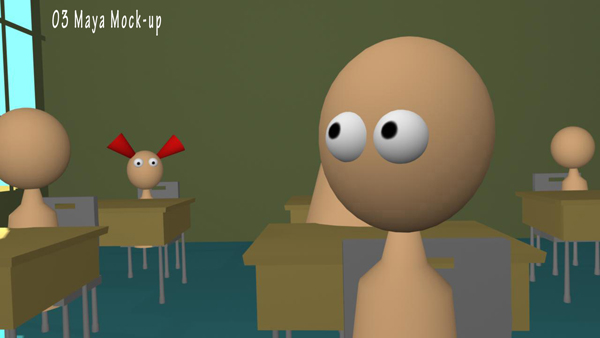
Image #03 shows that I finally decided to revisit the Maya computer program. I had already spent a lot of time learning how to construct objects – building a simplistic virtual classroom set, and I could now easily tumble the camera around to experiment with camera angles and depth of field.
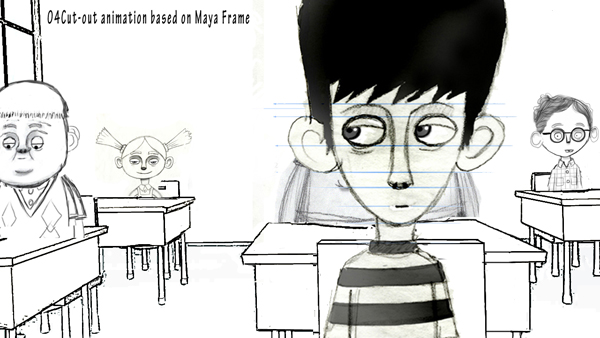
Image #04 shows that I created line-art from each computer still image and would then do cut-out animation for each character, cutting it up into parts with Photoshop and manipulate those parts within Adobe After Effects. I could then massage the timing of critical body parts and character interactions to my heart’s content. This still ate up a lot of time but it was far faster than any other method – and finally gave me the control I needed. I love Adobe After Effects!
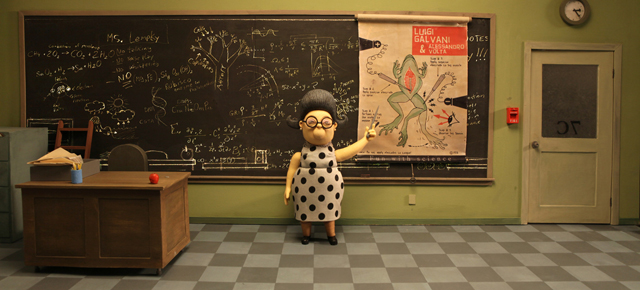
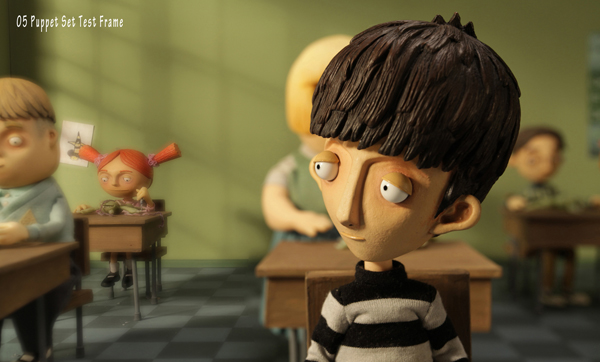
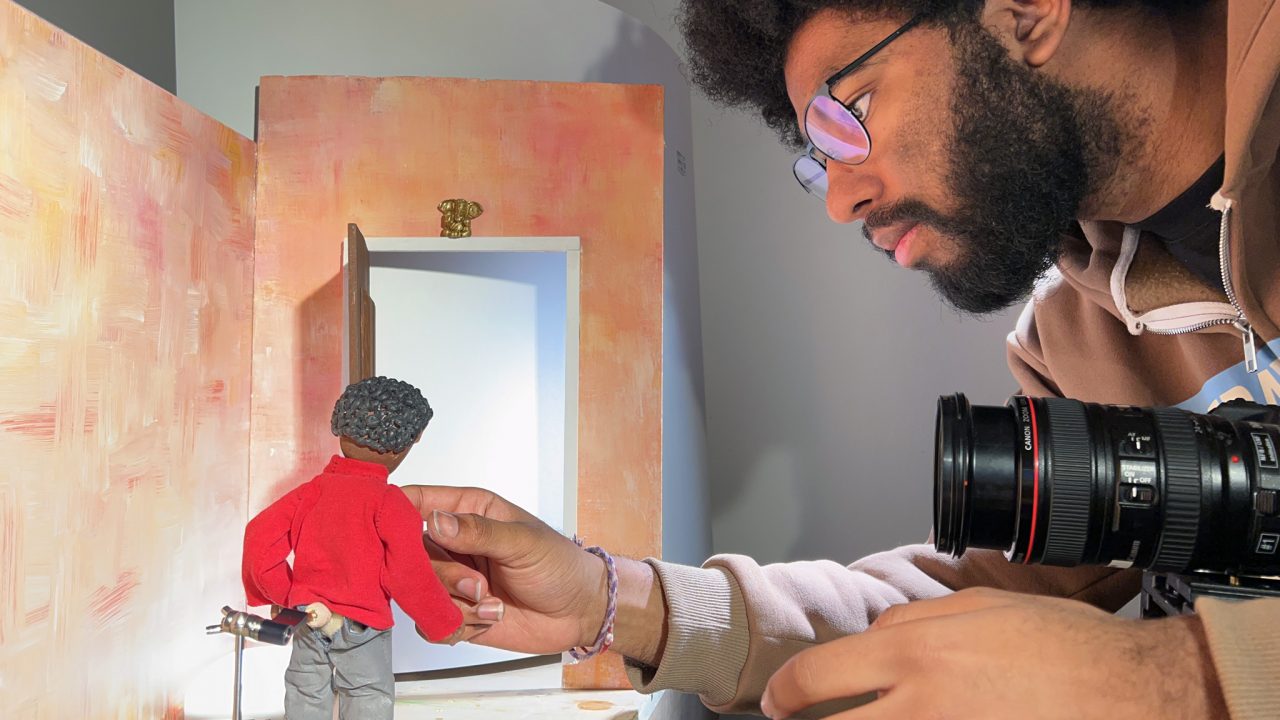
And Finally, Image # 05 shows the actual puppets within the set that were all based on image #04. The method seems to be working so far.
So there you have it – the evolution of the method of making sure that I could control the one aspect that I consider the most crucial thing in my filmmaking process – the timing!
Hmmm, this blog is as long as my previous 2.
What happened to the passing snack tray? More like a heavy greasy meal.
Next one will be shorter – I swear!

Very interesting to read, thanks a lot for sharing! I really appreciate it.
Is there a reason you just didn’t use bar sheets or exposure sheets to time out the actions?
In answer and explanation as to why I didn’t just supply exposure sheets as the timing guide to the Stop-mo animators – it is that I can’t be absolutely sure that the timing is what I want until I actually see it. Even after 39 years in the animation business, I still have to experiment with the animation timing by editing and playing with the frames. For me to supply an exposure sheet to Sylvie or Dale with timings guessed at (even a very educated guess) still leaves room for error. My method, though a bit heavy handed, mitigates against the potential of a re-shoot because I guessed poorly. Every day we Skype together and go over the animatics to discuss very specific points of timing – right down to eye-blink speed and placement. Without this method, I would find the process of directing a stop-mo production wildly un-nerving, because I have a very specific timing in my head and anything other than that just doesn’t feel right. So, I guess the short answer is that it’s for my peace of mind. And it really is working out quite well. There is still room for little surprises, and there are certain steady-state shots that I can allow free-range to Dale and Sylvie to capture the shot as they see fit (with a slight general guideline from me as to actor motivation!!). I’ll be doing some scenes of stop-mo in my film as well, and I’ll be doing the same form of animatics for myself. I don’t relish the idea of a re-shoot for myself any more than I would care to inform Sylvie and Dale of the same thing. Good question – I’m glad you asked it. This partially answers Eric Hanson’s question as well, I hope.
This one is going to be badass… I had an opportunity to see the set before shooting began… so cool!
It’s truly nuts how complicated a motion-reference system can get… personally as an animator I find that motion references often serve their purpose best as just that… references. In my experience, unless your stop-motion characters are singing and dancing to a pre-recorded tune, or are having “intimate” interactions with animated characters or environments of other mediums, the most life can be brought to them by keeping an eye on your movement references but otherwise working in straight-ahead. Maybe that’s a lot to say for a comment.
Promises, promises, Cordell.